Greetings True Believers!
I’m here to let you in on a special not-so-secret project that’s been going on behind the scenes at VTG. You should know by now that we are performing a staged “teaser” reading of Thom Dunn’s True Believers this Sunday at Improv Boston’s Geek Week and then producing the very same show in full scale at the Factory Theatre this summer. One of the reasons I truly love this show is the wacky little challenges that playwright Thom Dunn throws at the tech departments: a Steampunk Jesus costume, a MMORPG projection scene and yes, the subject of this post: the Cyborg Head Of Stan Lee, affectionately named the CHOSL [pronounced choh-sul].
We decided that the CHOSL would one of the props we wanted to showcase at Geek Week, which meant it was time to get to work! In this two-part blog post, I’ll walk your through the steps of how we built our very own CHOSL.
1. Many thanks
Before I go into any more detail, I want to extend my deepest gratitude to Peter Moriarty who has graciously offered his time, engineering expertise and many personal materials to this project. I would also like to thank the MIT Museum for allowing us to use their tools and workspace.

2. Inspiration
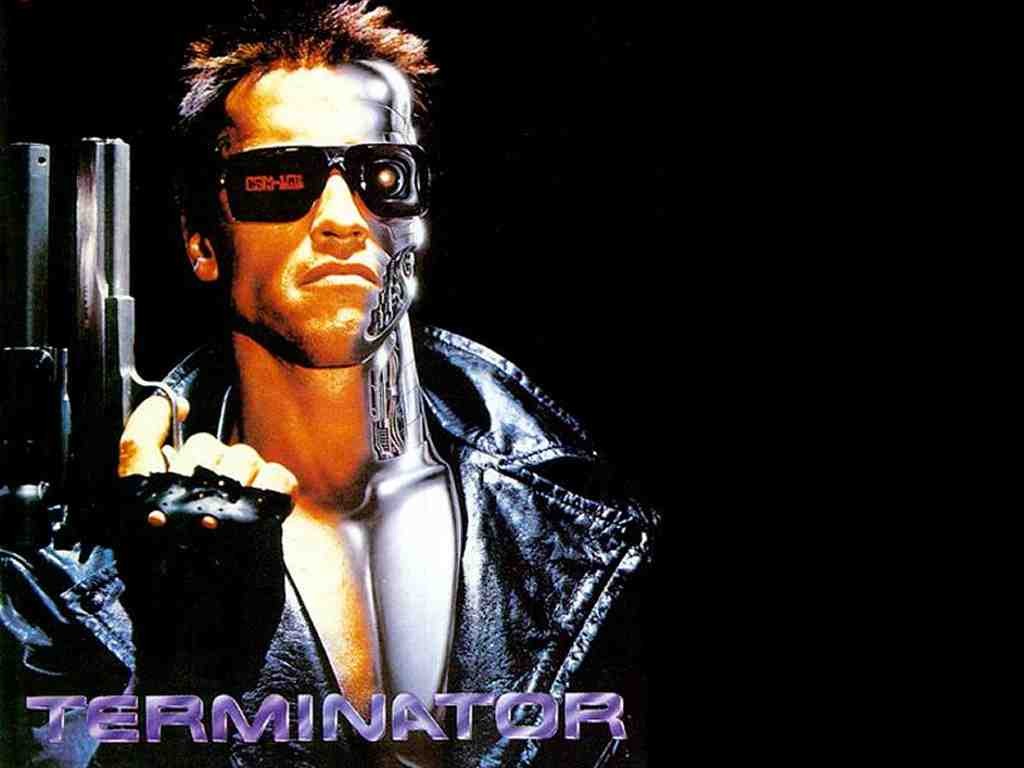
When I think of the word “cyborg,” my mind immediately turns to the Terminator. But since Stan Lee is not a killing machine and the Terminator scares me, we decided to go with a slightly different approach. The way I imagine it, the CHOSL is Stan Lee’s head, but replaced bit-by-bit with flashy electrical components until he is more machine than he is man. I certainly don’t want to lose the characteristics that make him Stan Lee: the moustache, the rose-colored aviators and the receding hairline.

3. Materials
After gathering materials, we had at our disposal: a mannequin head, some sunglasses, a moustache, various switches and buttons, a large assortment of LEDs, various colors of EL wire, an Arduino UNO (for control), a 12V battery, a few servos for physical movement and a slew of random computer parts. Damn, this is going to be fun…
4. “Hair”
The first thing I attacked was the hair. I tried to mimic Stan Lee’s actual hairline as I drew it out on the mannequin head. I then drilled about 20 holes on the front and 20 holes on the back along the hairline. I threaded two colors of electroluminescent wire back and forth through these holes, a process which required me to go elbow deep into the head.


5. The Eye
We knew from the get-go that we wanted to use some super bright light-emitting diodes (LEDs) on the CHOSL in some form. The left eye just seemed to be the perfect spot. We took apart an old webcam and took out the lens holder to become the eye socket for the CHOSL. We used an incredible little material called SUGRU to attach the intensely green LED to the socket. We then drilled out a hole for the eye socket and fit it into place.

Voila! Here is what the CHOSL looks like after Day 1 of construction. There’s plenty more where this came from. We still have to incorporate motorized body parts, circuit boards, switches and controls, oh my! We can rebuild him, we have the technology! After we’re done fooling around in tech-land, our very own Katie Richmond will help us achieve the “Stan Lee look” that most mannequin heads just don’t have.
STAY TUNED, TRUE BELIEVERS for Part 2 of the “How to build the CHOSL” blog post, next week!
